Adding images
Note: images can only go on basic pages, news messages, and page sections. On staff lists, there is an upload area for staff group photos.
To add images through the toolbar, first place your cursor where you’d like the image to appear. Then, click on the image manager button in the editor toolbar.

Choose an image from your documents, then click on upload.

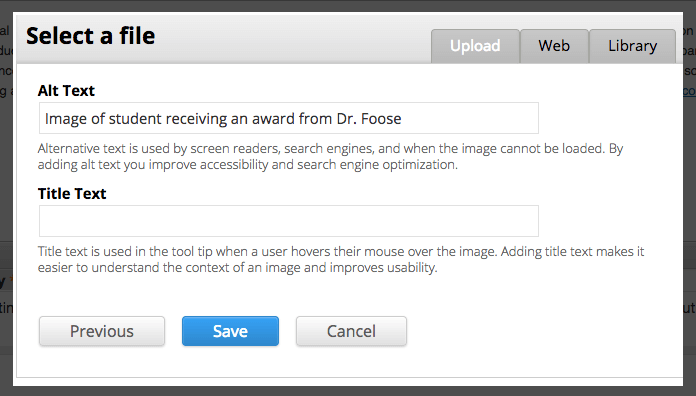
You’ll be brought to a screen with two fields. Don’t worry about the title text field, but the alt text field is important.
Alt text, or alternative text, is what screen readers and other accessibility technologies use to identify images. Alt text should be a brief description of the image, as depicted below, that describes the image as best as possible.
When a screen reader (which goes through and reads content aloud from the page) hits the image, it will read that text to the screen reader user.

Hit save, and the next screen is just a confirmation, so you can hit save again.
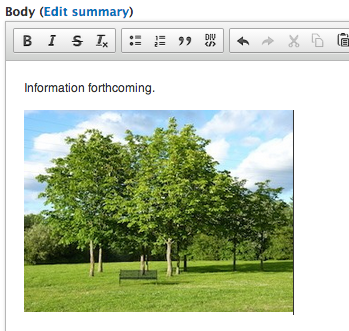
If all goes well, your image should go into the editor.

Floating text around an image
If you have a large amount of text on the page, you can have it “wrap” or form itself around the image so it looks cleaner.
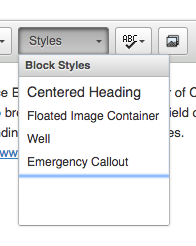
Highlight the image by clicking on it once. Then, under “styles” in your editor, select “floated image container” and any large block of text should merge around the image (note this will only visually appear after you hit save).

Once your changes are all set in the editor, hit “save” to make everything live.