Managing Galleries
Gallery highlights on the homepage are the end-product after creating a gallery. Read more on how to manage gallery highlights.
To begin editing a gallery go to add content, and then gallery.


Have a few photos ready to go online. The sites allow up to 10 photos per gallery. Make sure that all students in the photos have media releases on file before posting any images.
Title and Description
Give the gallery a specific title like “Awards Ceremony - 2015 Delta Scholars” or “Girls Indoor Track - Spring 2015” to summarize the gallery content.
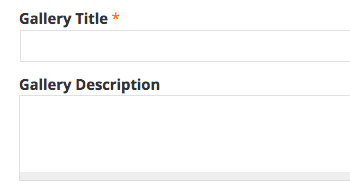
Gallery description is also useful for giving context around the event or organization you’re highlighting. Three sentences is typically enough for a description.
Taxonomy and the Key Image
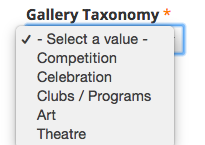
Taxonomy is another term for category. There are default categories with associated logos that will appear if the gallery is promoted to the homepage. Selecting a taxonomy is required. If you would like additional taxonomies added for selection, please let web services know.
The Key Image is the image that will be shown as the first gallery item and promotional piece when the gallery is on the homepage. This can either be uploaded using the “browse” button, or chosen from your site’s pre-existing photo library.
Please note that the key image becomes the first item, therefore you do not have to add it again

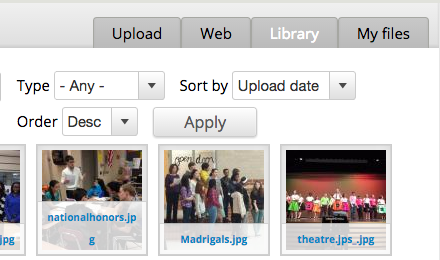
Remember, you can always select an image that’s already on your site by using the “library” tab after clicking on “browse”.
Adding Images
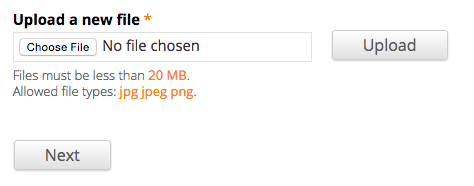
To add images to a gallery, go to the “browse” button and then “choose file” under upload a new file. This will open up your file browser on the machine you’re using.
No need to worry about sizing, your website will go in and make the adjustments as needed after uploading

Alternatively, you can also add images using the “library” option or oembed. Learn more about what oembed is and how it can incorporate with your galleries.
Keep the name set to the default.
Change the “alt text” to a quick sentence describing what the image is depicting. This is useful for users with visual impairments using screen readers.
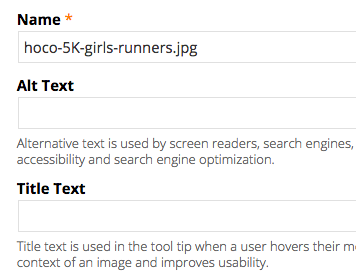
For instance, an image of three students posing for a picture at the Let’s Go HoCo 5K race would have the alt text, “Three students at the Let’s Go HoCo 5K Race”. Keep it simple, descriptive and at most one sentence.
Click “save” to add the file you want as a gallery item.

Once you’ve added the images you can re-arrange their order to your liking using the directional compass.
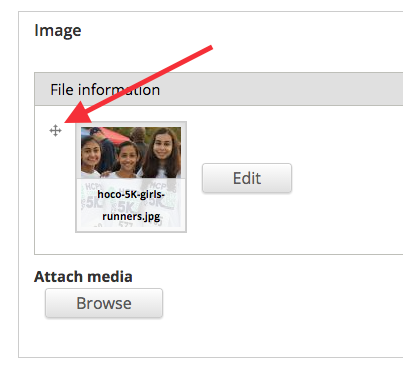
You can replace the photos at any point under the “edit” option (as long as the new ones have the same file name), or remove a photo from the gallery using the “remove” button.
Click “save” at the bottom of the page after the gallery is all set.
Removing or Changing a Gallery
If at any point you want to go back in and edit a gallery you’ve created, or delete it, you can use the “find content” feature on your site.
While you’re logged in, at the top of any of your pages on the site is the “find content” button.

Clicking on this will bring you to a page with all the content on your site. You can drill down to any content type using the “type” dropdown and then selecting “filter”.

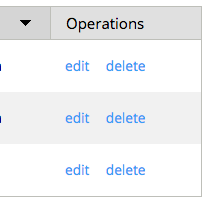
The listing gives you the option to edit or delete any piece of content.
If you want to default back to the full view of content on your site, just click on the reset button at the top of the “find content” page.
