Customizing Recipient Lists
Sending messages to your school community doesn’t always involve sending to everyone that signed up. Sometimes, you’ll want to target a specific grade-level, bus number, or a custom list of students.
You can build lists outside of messages, or create the list using custom rules right before sending out a message.
When building lists using custom rules or quick pick, the student data feeds from Synergy and is always fresh. Changes in the data will be reflected in the lists from year to year.
There’s also a way to build recipient lists using CSV files if you’re familiar with them.
Building custom student lists outside of a message
Another use-case is having a message list on hand that has specific students. This can either be a sports team, students on a field trip, or any other contextual list that you might find yourself sending a message to.
Under the “Broadcasts” tab, select “Lists” and then add a new list.

Keep the targeted recipients set to the default “both”, which adds both of their emergency contacts.

Go under the additional list tools menu and select “quick pick”.

From here, you can search by the first and last name of students in your school to add specific students. You can also search by student ID, or the email addresses associated with a student’s account.

As you search, simply check off the students. You can check off multiple students and conduct another search. Students are not added until you click done. Once you’ve gone in and checked everyone off, click done, and you should be brought back to the list overview page. This is where you’ll have a preview of all students in the list.

After the list is all set, click on done.

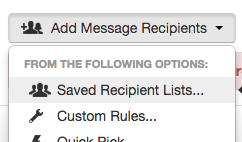
The list can now be accessed under “saved message recipients” when you’re crafting a new broadcast. This list will remain on your account as long as you’d like.

Under your “list” tab, you can always delete a saved list by clicking on “delete” to the right of the list name.
