Creating Draft Messages
Use Cases
News content can roll in throughout the week for the upcoming newsletter. Using draft messages helps manage the editing process and avoid having to cram all the news content in at the last minute.
Getting your message started
To craft a message that you plan on sending at a later date, go under “broadcasts” and then “messages”.
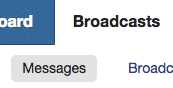
This messages area is where all saved messages are stored for use later on.
Select “add new message” to start a new draft message.

The message name on this screen is more of a label for your reference. You will be setting the message subject that end-users see inside of the message itself. The description is purely optional as well and will only be seen by you and your team.
Select next once you’ve added a message name.

Loading up the stationary
In the message content area, select the dropdown under “HTML Email” to start crafting a message. The only other selection you’ll ever have to use is SMS, but that’s only if you’re pre-crafting emergency messages.
Select the down arrow and then “new from stationary”.
For newsletters, use the “simple message” stationary. If you’re crafting a canned emergency message ahead of time, select the “important message” stationary.

If you’re not already familiar with it, view our documentation on using the important message stationary, it’s a bit different than the simple message stationary and is only meant for emergencies.
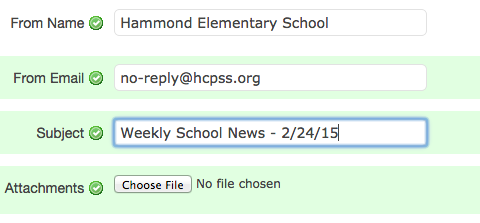
Your school’s name will be defaulted into the “From Name” field. Always check to make sure that the “From Email” field is set to no-reply@hcpss.org and then re-enter the subject.
Setting the “From Email” to no-reply@hcpss.org increases the likelihood of messages going through spam filters.
From here, you can edit your message. You can learn more about basic content editing in our sending a broadcast topic.
You can also add attachments as needed.
At any point, you can also preview what the message will look like in the browser by clicking on the “preview” button.

Saving and coming back to the message
Once the content of your message is all set click on done to save it. Then, click on done again after it sends you to the message editor overview page.

To get back to your message at any point in time, go under “broadcasts” and then “messages”. You’ll always find your saved messages inside of this view.
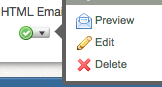
When viewing any previously created draft message, the HTML email dropdown will have a green checkmark next to it.
Select the dropdown and then click on edit, and you’ll be able to edit again.
Sending the message
Once it’s all set to go, head to the dashboard, start a new broadcast, and get to the second screen. If you’re unsure of how to start a new broadcast, view our documentation.
On the second screen select “load saved message”
This will open up a dialog box of messages you’ve saved and can select to send.
To the right of the title there’s a list of the mediums that the message will send. In the example, only an email will be sent out.
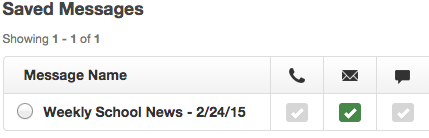
Select the message you want loaded up and then click on “load selected message”.

If this was an emergency and an SMS message was going out with it, then the last icon would have a green checkmark as well.
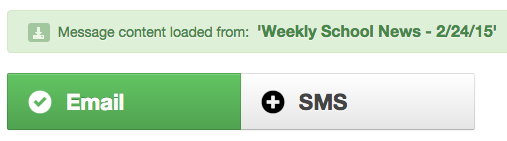
A green message saying your content was loaded will pop up. You can also click on the “email” box with the checkmark to edit any content before you send it out.
It’s always a good idea to check that the subject is correct and that no-reply@hcpss.org is listed in the “From Email” field
Save the email message if you edited anything after loading your message.

Then, click on continue to get to the final screen for sending. You can either send it immediately or schedule it to be sent later.
The saved message will remain on your account until it’s deleted.