Send a Broadcast
Getting Started
When you log into the system, the first screen you come across is called the Dashboard. On the right side, there is a large button labeled “New Broadcast”. Click this button to get started.

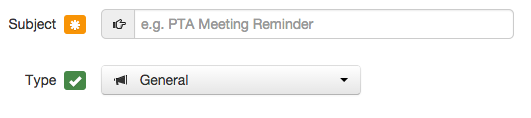
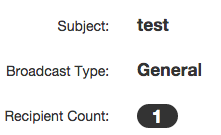
On screen 1, there’s the subject and message type areas. The subject area will be the name of your Broadcast. Once you’ve added a subject, the icon next to the text field will turn green.
In the dropdown, “General” messages are for reminders or newsletters, whereas “School Hours Emergency” or “Non-School Hours Emergency” are for emergencies only. Find out more about crafting an emergency message.
Recipients
Select the “Saved Recipients Lists…” from the “Add Message Recipients” dropdown menu to access the list that contains all families and community members for your location.
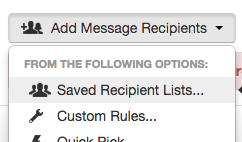
Select the “_SchoolName (All Students + Community)” list and click “Add Recipients.”

This recipient count gets updated every weekday in the morning and will fluctuate as new students are enrolled or un-enrolled at your school. Community members signing up for your messages will make the number change as well.
Custom Rules
Sometimes, you’ll want to get more specific about who gets your message. Custom rules allows you to add students who are listed under either a grade-level, target just parents, or a specific bus number.
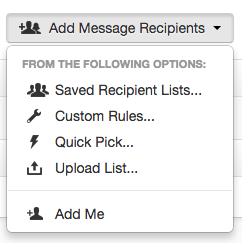
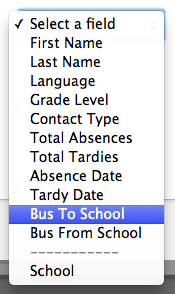
Under the “add message recipients” menu, select “custom rules” to make your recipient list more specific. Then, select the field you want to filter on.
Buses
- Choose “bus to school” or “bus from school” depending on the time of day and select an individual bus number. Keep the criteria set to “is in” and this will load students who are listed under a specific bus number. However, if you select the bus number and the student count looks a bit low (e.g. 4 versus the usual 20-40), just send to the whole school/community list.
Specific Grades
- Choose “grade level”, then select a grade or multiple grades to load students in that specific grade.
Just Parents
- Choose contact type, and then select student. This will only send to parents and leaves out the community members or staff who have signed up for your messages.
Once your selection is complete under either option, click on “save” and then “add recipients”.

Don’t worry about saving a list you’ve made using custom rules. You can select the custom rules again later on and the data always stays fresh from Synergy.
General versus Emergency Messages
For a general message, you’ll always send an email. For an emergency message, you can send both an email and a text message.
Learn more about crafting an emergency message, including text messages →
To get started on an email, click on the email button.

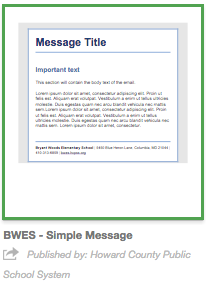
Select the simple message stationary, or fluid template stationary (if applicable), and then click on “use selected stationary”.
Emergency messages must use the important message stationary.
Once the stationary has loaded up, the “from name” should be defaulted to your school.
However, the email area has to be changed to “no-reply@hcpss.org”. This blocks users from replying to your email directly and helps the message not look like spam.
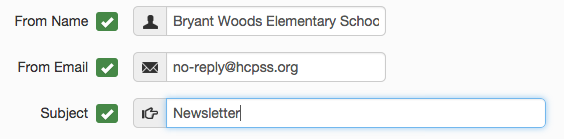
no-reply@hcpss.org is the required email to set the “from email” to. Avoid any other characters or numbers in the “from email” area.
Crafting a Message
The default message area has a title, important text, and a body area that can be changed.
You can either delete the important text area, or add your school’s motto if you’re stuck on what to do with it.
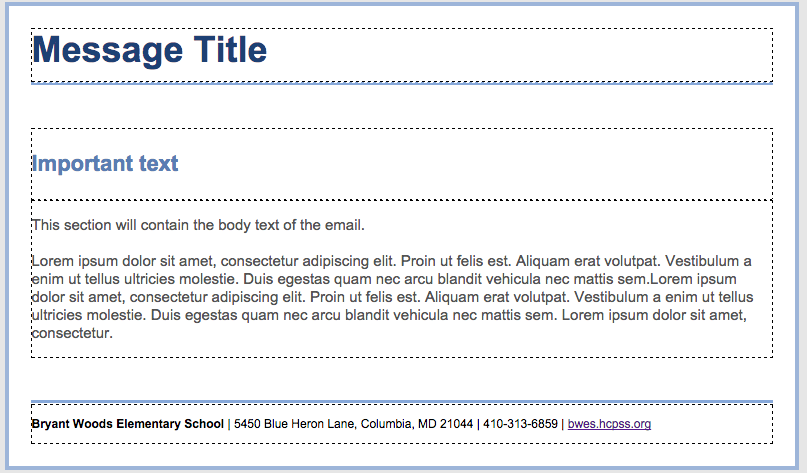
Don’t change the footer area.
Using the Toolbar
The only styling options you have to worry about using in the toolbar area are bold and italicize. The font should be kept to the default, along with the font-size. This promotes read-ability across all devices.
Attaching Files
You can also attach files. Files are added to an email message as a link rather than attached to the message separately. You can add multiple files, but keep it less than 3.
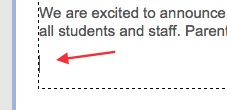
When attaching files, place your cursor where the file link should show up. In the case of a blurb about a field day, put your cursor below the paragraph.
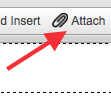
Then, click on “attach” in the toolbar.
A window should pop up that allows you to enter in a display name. This display name is what will appear for users to click on and visit the document.
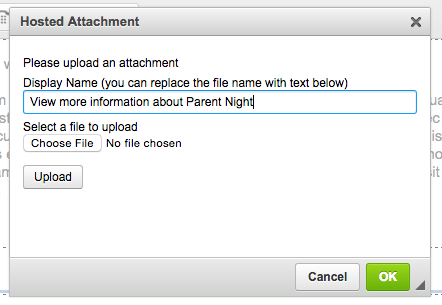
Files must be less than 2MB in size
Once you’ve added a display name, choose or browse for the file and make sure that the file name does not have unique characters (e.g., !@#$%^&*`), this will prevent the file from uploading. In lieu of spaces in a file name, use hyphens instead (e.g. school-supply-list.pdf)
Click on upload after choosing the file.
Then, click OK and this will drop in the file.
Pasting from word
If you’re choosing to type up your message in Microsoft Word, it’s important to always run any text coming in from Microsoft Word through a plain text editor. For Mac users, this is a free program called “TextEdit”. For PC users, their version is “Notepad”.
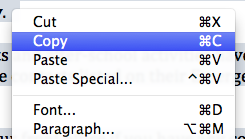
Copy (command+C) all your text from Microsoft Word.
Mac Users
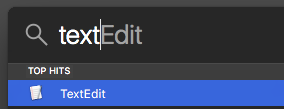
Go to spotlight search, which should be the magnifying glass icon located in the upper right-hand side of your screen, next to the date and time.

In spotlight search, type in the word “text” and the first result should be TextEdit.
PC Users
You’ll be able to find the same program under your start menu. Then, search your Windows machine for “Notepad”. Notepad is already in plain text mode, just paste all text into Notepad, and then copy and paste it back into SchoolMessenger
Mac Users
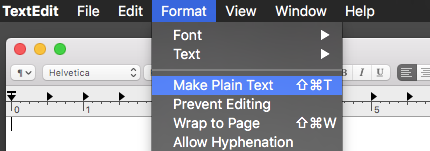
Before pasting in any content from your Word document, go to the top-left side of your screen and click on “Format”. In the format menu click on the option “Make Plain Text”, which will drop the toolbar from the editor.
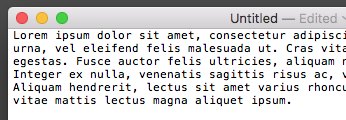
Once the toolbar goes away, paste (command+V) the content from the Word document into TextEdit. It should now look like typewriter text.
All links, bulleted lists, fonts, colors, and any other additional formatting will be dropped. That’s okay, because sometimes links can be corrupted from Word files and extra formatting can throw errors.
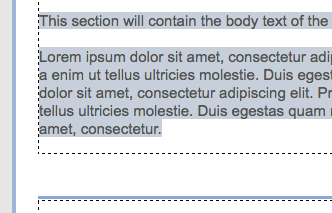
Highlight all the existing text in your SchoolMessenger message, and then paste in everything that was copied from TextEdit. From here, you can add links or bulleted lists, as well as bold or italics for text.
Adding Links
Any link you add to a message has to be copied from a URL bar. Links should never be copied over from Outlook because there are some issues that happen behind the scenes.
If you ever have a link emailed to you, open it up in a new window and copy the URL from the the URL bar.
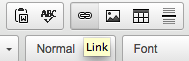
Highlight the text you want to make a link and then click on the link button.

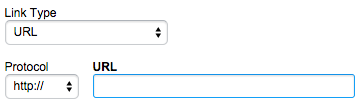
From here, you can paste in the URL that was just copied. Don’t worry about changing the protocol.
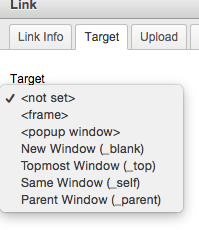
Be sure to also set the target of your link to new window. This ensures that when users click on your link, they’re brought to a new browser window rather than away from your message.
If you use preview to test your links, setting them to open in a new window will allow you to test them out before you send a message.
If everything worked, the text that was highlighted should now become a hyperlink that leads to the linked URL.
Making an email address a link
Additionally, you can make email addresses work as links. This allows users to click on an email address, and their desktop mail client will open a new window with an email ready to compose.
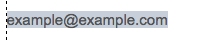
Same as with adding a regular link, highlight the email address in your message and click on the link button.
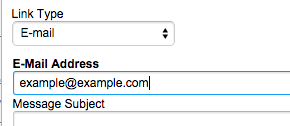
Then, switch the URL dropdown to “email”.
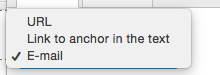
Enter in the email address and don’t worry about the subject or body fields. Click OK and the email address should become clickable.
You can always preview your message by clicking on the preview button.
At any point, you can also erase the email content by clicking on the discard button if you’d like to start from scratch.
Once your content is all set, click on the “save email message” to move on to the final screen.

Sending
Once you’re on the final screen, you can always move back a step within the green timeline.

Just note that you can never move forward using the timeline.
Once you’re at the final screen it’s always a good idea to check your recipient count. In this example, it’s only one because this was a test message.
When you’re sending to your whole school community, this recipient count will be in the mid to upper hundreds. Some middle and high schools will be in the lower thousands.
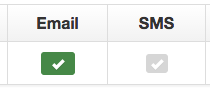
The message content area will have a green checkmark next to the message type you’re sending out. In the case of general messages, the email area will be checked off. During emergencies, both the email and SMS area will be checked off.
The message options area can stay set to the defaulted boxes that are checked off for you. Your staff email address will be sent a PDF copy of the message report once it’s sent.
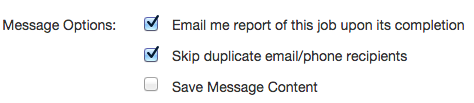
If you ever want to re-use a message later on, check off the “save message content” option. You’ll be prompted to give it a descriptive title, and it can be accessed after you’ve sent the message. View the documentation on accessing messages you’ve saved for later.
Select the “send now” button to send out the message. There’s also a scheduling feature if you’d like a message to go out on a particular date and time. From the home screen, this scheduled message can be cancelled if needed.

The system will begin sending your message to the recipients on your list. You can monitor the progress from the Dashboard after clicking “Send Now”. You’ll see your job running in the “In Progress” section.
You can click on the Dashboard button to see the most up-to-date status of your message. It will move to “Completed” once it’s sent.