Uploading a CSV List
Leveraging Data
Building lists in SchoolMessenger is possible through a variety of ways. Synergy has the ability for datasets to be downloaded as a CSV.
A CSV, or comma separated value, is a file type used for databases to easily load up large data sets.
Getting CSV files out of Synergy is useful for when you want to build a recipient list of students who can’t be grouped by the default fields, but are listed in Synergy some other way.
These can be Synergy data points such as being registered for AP courses, pre-registered kindergarten parents, or rising 5th graders who’ve made their schedules for middle school.
Even though CSV data can be extracted from Synergy, it isn’t automatically updated by Synergy once it’s in SchoolMessenger. CSV lists are generated from your uploaded data, which therefore makes you responsible for keeping them up to date.
Getting the data
Synergy
- You can download the data from Synergy as a CSV file. If you need help with this, please contact Brenda Finkle with any additional questions.
Use-Case: Sending to active students with ID numbers
Let’s say you wanted to build of list of kids who are taking AP courses at your school.
After downloading their sorted information as a CSV from Synergy, delete every column except for the ID numbers.
Inside Excel
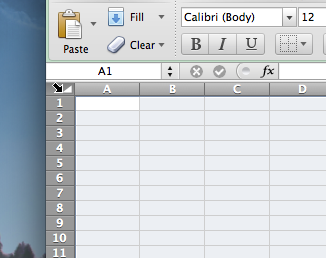
- Select every cell by clicking on the upper left-hand corner
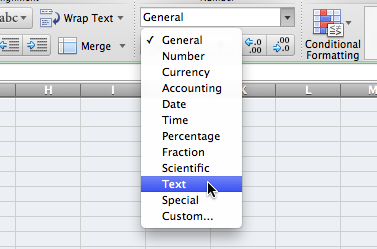
- Then, set the data-type to text, instead of general.
-
Delete the columns you don’t need
-
Make sure the two zeros that prefix their ID numbers are still in there.
-
After your file is all set, go to file > save as > and the type should be Comma Separated Value (.csv)
-
From here, you can take this one-column CSV and upload it into SchoolMessenger.
Send using a new broadcast
Start a new broadcast (if you need a refresher on sending a broadcast, check out our documentation)

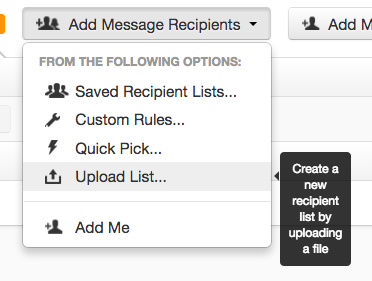
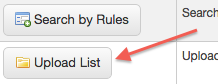
Then, click the “add message recipients…” dropdown and select “upload list”
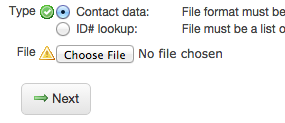
After uploading, select “ID# lookup” from the list of options.

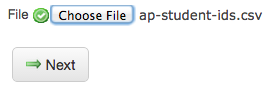
Choose the CSV file you created with the column of ID numbers and click “next”.
You’ll then get a list of active students who are matched to their ID numbers. Click on “add selected recipients” to put them in as a list.
A recipient number will be generated for the students in that list, along with the defaulted name “uploaded list”.
CSV uploads of active students should be treated as a one-off recipient list
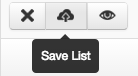
However, if you foresee having to use this list later on, you can save the list by clicking the cloud icon and giving it a name.
It will save after the message is sent and you can use it again, but this is data you’re responsible for. It’s only as up to date as the CSV file you feed it.
Using the list again
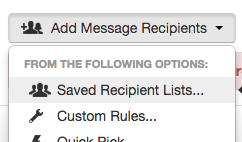
When you get around to sending a new broadcast, you can always access this list from the “add message recipients” dropdown under “saved recipient lists” as long as you’ve saved it.
Building a CSV list without sending a message
Clean up the data
For most cases, CSVs are for emails only.
In the Excel document
Once the data has been extracted from Synergy, delete everything except for the student’s name and the first email listed.

Unfortunately, with the way that the vendor has built this feature, you can only send to one of the parents for a student.
Load it into SchoolMessenger
Under the “Broadcasts” tab, click on lists.

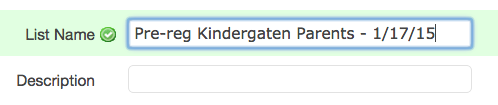
Give it a descriptive list name with a date, for example, “Pre-reg Kindergarten Parents - 1/17/15”. This is to avoid confusion if you decided to refresh the CSV later on.
The description is for administrative purposes and doesn’t go along with a sent message.
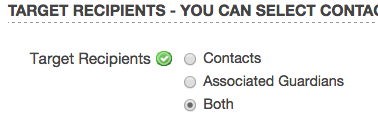
Keep the targeted recipients set to the default for “both”.
Then, under the additional list tools menu use the “upload list” option.
Select “contact data” and “choose file” to add the CSV file you created, then click next.
- Note you can use ID lookup as well with the same process above
If your CSV file has, for instance, two columns (student name and one email), the SchoolMessenger interface should show you a first name column and a second column defaulted to “last name”.

Change that last column to email 1. This will enable that parents’ email to get messages.
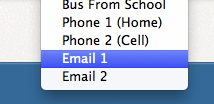
Refresh the mapping, then save.

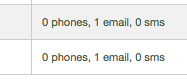
You can always preview the recipients by clicking on the magnifying glass icon. This is a good place to check and see if the names are lined up with an email address.
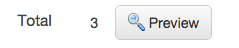
In the preview window, clicking on the “0 phones, 1 email, 0 sms” area lets you see what’s in a parent’s contact field. This is a good way to always make sure that email 1 is filled out.
The list is now ready for you to re-use on future messages.
Once everything is all set, you can save the list by clicking on done.
Using the list
When you get around to sending a new broadcast, you can always access this list from the “add message recipients” dropdown under “saved recipient lists”.
Refreshing the data
A downside for using this CSV option is keeping the data fresh.
In the case of pre-registered kindergarten parents, it’s a good idea to upload a new CSV from Synergy once or twice before the late-July turnover. This keeps the list populated with the most up-to-date parents for your messages.
When you upload a new list, it completely overwrites the former list entires.
Under Broadcasts click on “lists”.
Under lists you should find the list you uploaded as a CSV file.

Select “edit” to the far right.

Then, under the additional list tools menu use the “upload list” option.
From there you can re-upload the list from Synergy, similar to before.
After uploading and clicking next, make sure the columns show “first name”, “last name”, and “email 1”. Then, save the list.
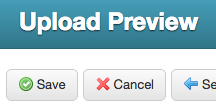
To fully finish, click on done once you’re back at the list overview.
Unsubscribing recipients
There may be some recipients who do not want to receive information.
You can always remove recipients by previewing the list.
Then, uncheck parents from the list.
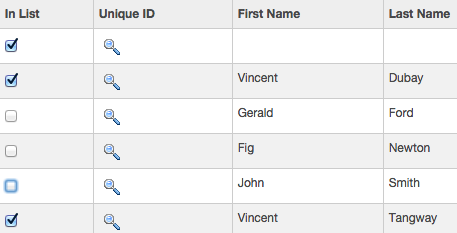
Click on done after unchecking the ones you want removed, and they should be off the list.
The downside is you’ll have to delete them every time you upload a new CSV.