Uploading files
This topic explores how to upload a PDF file and link to it on your site. Replacing files is a separate topic, along with adding links to external sites.
Pro tip: link to hcpss.org as much as possible
Pro tip: keep dates out of the file names, and make them lowercase
When you are uploading your own files, naming them is an important aspect of effective file management. Replacing files is much easier once you've given them "cleaner" file names.
Don't do this: "School Supply list 2016-17.pdf"
- The spaces in this file are problematic for search once it's implemented on your site. The date in the name will also make it difficult to upload the new 2017-2018 school supply list in the future.
Do this instead: "school-supply-list.pdf"
- Using hyphens is friendlier for site search, and the lack of dates allows for an easier file replacement process if the time comes. Instead of having multiple files with multiple years listed, it's easier to have one generically named file that you can change every once and while.
Uploading a new file
Go to dashboard in the upper left-hand side of your screen.

Under file management on the right-hand side, select “add & manage files.”

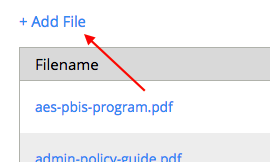
Here is where you’ll find all of the files that have been uploaded to the site. To add a new file, select “add file.”

Select “choose file” and find the file you would like to upload from your computer. You can select a file up to 20MB in size.

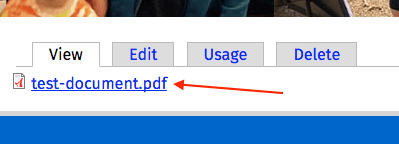
Selecting “next” will bring you to a page where the file “lives.” Avoid linking to this page because it’s for admins only.

Click on the file name under the “view, edit, etc.” menu.

It will bring you to a view of just the file in it’s entirety.
The URL should look like this: /sites/default/files/”your-file-name.pdf”

Copy this URL address.
Ready to link it on your site? Learn how →